Tuesday, December 13, 2011

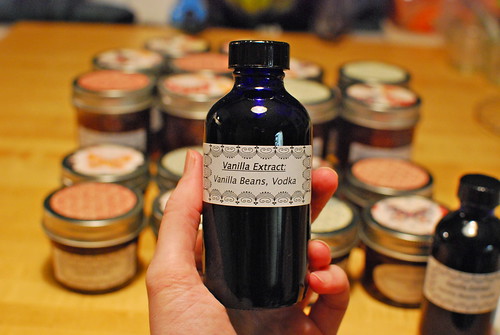
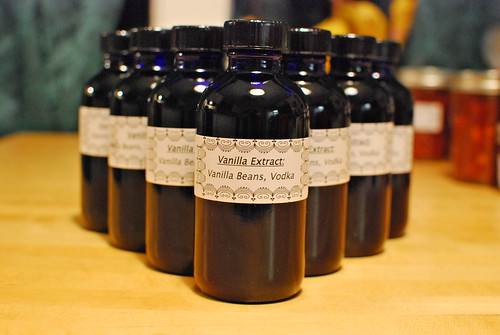
Homemade Vanilla Extract


Homemade Vanilla Extract, originally uploaded by queenofthemoodswingset2.

I have seen a lot of homemade vanilla extract recipes on blogs recently. I love the idea and, more importantly, I've been waiting for any excuse to buy some blue bottles from this bottle company! Also, I bake a lot and this is a really affordable way to get vanilla beans and extract.


Homemade Vanilla Extract

1/2 cup vodka
1 1/2 madagascar vanilla beans (split open and cut in half to fit in the jar)

Let steep in jars for at least 2 months. Keep in a cool dark place and shake once a week. You can keep adding vodka after you use some of the extract.

Cobalt Blue 4 oz jars from: www.specialtybottle.com/cobaltbluebostonroundglassbottle4...

labels adapted from: www.marthastewart.com/275308/christmas-templates/@center/...

Monday, December 12, 2011

Flying Biscuit Cranberry Apple Butter and Biscuits

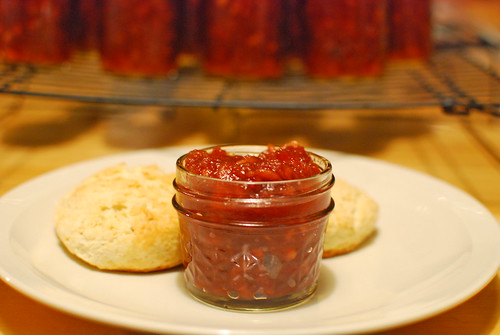
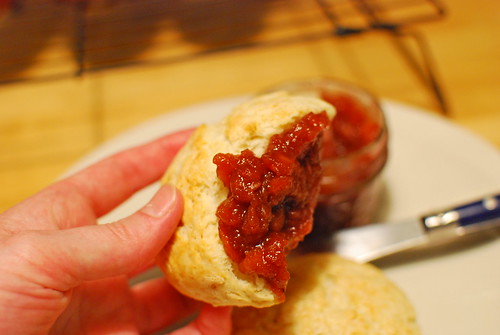
Flying Biscuit Cranberry Apple Butter and Biscuits

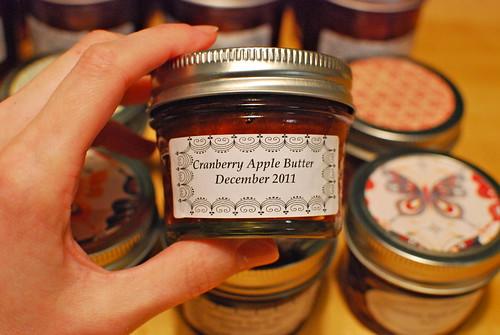
I decided to make some Cranberry Apple Butter for Christmas presents this year. My mom always brings me a bushel of Northern Spy apples from Home, Pennsylvania, and this is a great way to use them all up.

I couldn't remember the yield of this recipe but it makes a lot more than the 4 1/2 cups that the original recipe says. I used large apples and 1 recipe made 8 1/2 cups. A double recipe did not fit in one pot, so I started out with my dutch oven and another large pot and consolidated after the apples cooked down a bit.


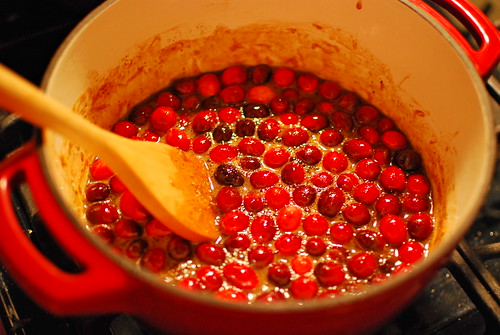
boiling cranberries for cranberry apple butter, originally uploaded by queenofthemoodswingset2.

Flying Biscuit Cranberry Apple Butter

* 2 cups of dark brown sugar
* 1 cinnamon stick
* 1 1/4 teaspoons ground cinnamon
* 1 teaspoon ground nutmeg
* 1 teaspoon ground cloves
* 1 cup freshly squeezed orange juice
* 2 cups cranberries
* 10 Granny Smith apples, peeled, cored, and thinly sliced

Place sugar, spices, and orange juice in a large, heavy-bottomed saucepan. Bring to a simmer and add the cranberries. Cook over medium heat until cranberries begin to pop.

Add the apples and cook over low heat, stirring frequently. Cook until apples are tender and falling apart. Puree contents of saucepan in a food processor or mash with a potato masher until smooth and thick. I used a potato masher because I like larger chunks. Also, because I was going to can the butter, I didn't want to worry about bringing it back up to temperature after pureeing it. Cool and serve with hot biscuits.

Yields: 4 ½ Cups (I used northern spy apples and the yield was about 8 1/2 cups)

Cranberry Apple Butter will keep for 2 to 3 weeks in the refrigerator.

Follow these instructions for preserving: nchfp.uga.edu/how/can_02/apple_butter.html

Flying Biscuits

Ingredients
3 cups all-purpose flour (*Note: a soft winter wheat flour, such as White Lily, works best)
1 tablespoon plus 1-1/2 teaspoons baking powder
3/4 teaspoon salt
2 tablespoons plus 1-1/2 teaspoons sugar
6 tablespoons unsalted butter, at room temperature (it should be consistency of shortening)
2/3 cup heavy cream
2/3 cup half an half

1 tablespoon half and half for brushing on top of biscuits
1 tablespoon sugar for sprinkling on biscuits
______________________________

1.Preheat oven to 375 degrees F and line a cookie sheet with parchment paper.

2. Place flour, baking powder, salt, and sugar in a large mixing bowl. Cut butter into 1/2 tablespoon-sized bits and add to the flour. Using your fingertips or a pastry cutter, work the butter into the flour mixture until it resembles coarse meal.

3. Make a well in the center of the flour and pour in all the heavy cream and half and half. Stir the dry ingredients into the cream and mix with a wooden spoon until dough just begins to come together into ball.

4. Turn dough onto a lightly floured surface and knead 2 or 3 times to form a cohesive mass. Do not overwork the dough. Using a rolling pin, roll the dough to a 1-inch thickness. The correct thickness is the key to obtaining a stately biscuit. Dip a 2-1/2 inch biscuit cutter in flour, then cut the dough. Repeat until all the dough has been cut. Scraps can be gathered together and rerolled one more time.

5. Place the biscuits on the prepared sheet pan, leaving about 1/4 inch between them. Brush the tops of the biscuits with 1 tablespoon half and half and sprinkle with 1 tablespoon sugar. Bake for 20 minutes. Biscuits will be lightly browned on top and flaky in the center when done.

Makes 8 to 12 biscuits, depending on the size of the cutter.

Apple butter recipe from: www.pba.org/programming/programs/atlanta_cooking/flyingbi...
note that if you want to make the biscuits use this recipe: www.easygourmetrecipes.com/html/recipe_database/recipes.c... (there's a typo on the pba website leaving out 2/3 of half and half; I've done this and it gives you scones!)


I downloaded the label borders from here: www.marthastewart.com/275308/christmas-templates/@center/...
I used art paper for decorating the tops of the jars

Sunday, November 6, 2011

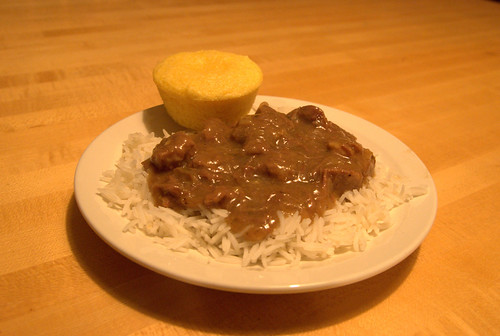
Beef tips and rice with corn bread

This is the best beef recipe I've ever made. The meat was just falling apart and the beer gave it a more complex flavor than beef broth would have. It doesn't hurt that I was using organic beef that my cousin raised.

The corn bread is Jiffy corn muffin mix, but I used buttermilk instead of milk.

Beef Tips on Rice

1 to 2 lbs stew meat (I used a heel roast)
~½ cup flour with salt and pepper
1 tbsp butter
3 tbsp olive oil
1 onion diced
2-3 cloves garlic
1 Tbsp dried parsley
1 can cream of mushroom soup
1 cup beef bouillon
1 bottle of dark beer (I used Guinness)
salt and pepper
1Tbsp corn starch and 1 tbsp water

cooked rice (2 cups uncooked)

Cut meat into 1 inch pieces, tenderize (sprinkle with tenderizer and poke with fork). Coat meat in flour mixture.

Brown meat in dutch oven with 1 tbsp of butter and 3 tbsp olive oil. Remove meat, brown onions and garlic with more olive oil.

Add beer and boil (scraping pan to get brown bits into broth. Add 1 cup bouillon, cream of mushroom soup, parsley, salt and pepper.

Simmer for 2 ½ hours at 300* (can increase to 325 for last hour). Add veggies and cornstarch 1 hr before done

serve over noodles or rice

Next time I will try adding 2 more onions sliced into 8 pieces.

Tuesday, November 1, 2011

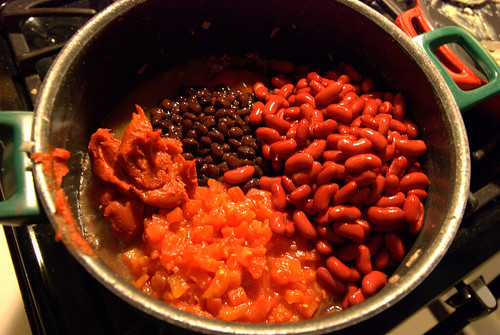
Perfect Chili with Black Beans and Kidney Beans


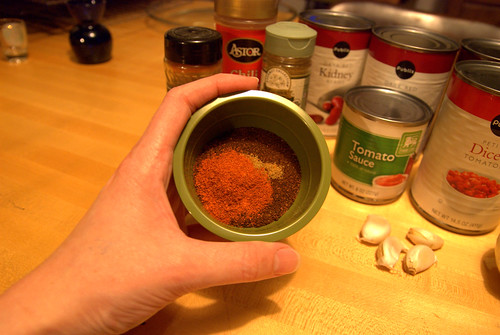
Chili spices, originally uploaded by queenofthemoodswingset2.

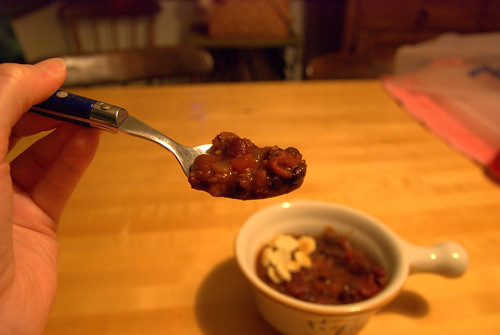
I love the combination of beans in this chili and the spices are perfect

Bill’s Chilli

a few cloves of chopped garlic
1/2 an onion
1 lb hamburger
sea salt and black pepper to taste
1 can of diced tomatoes, not drained
1 can tomato sauce
1 can of tomato paste
2 cans of black beans: not drained
2 cans of kidney beans, drained and rinsed
1/2 can of regular beer not light beer (bill uses Bud, I used "the champagne of beers") (you can substitute bouillon and water)
5 tsp chilli powder
1/2 tsp cayenne pepper
pinch of cumin (really, don't add too much cumin!)


Cook garlic, onion and hamburger until the meat is brown. Drain the fat off.
Add all of the other ingredients (make sure the tomato paste dissolves)
Add spices
Bring to a boil, add water to set thickness (I didn't need any)
Taste once it cools a bit, add chilli pepper first if it needs something.
Boil and stir occasionally on Medium heat
cook for about 30 minutes.
Tastes best if you let it cool and then reheat to serve.


Spice: 10/1 chilli powder to cayenne pepper; 10 /1 cayenne pepper to cumin


Saturday, October 29, 2011

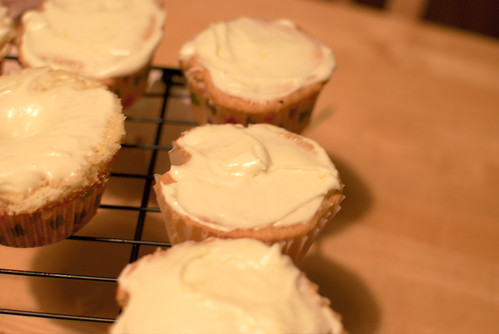
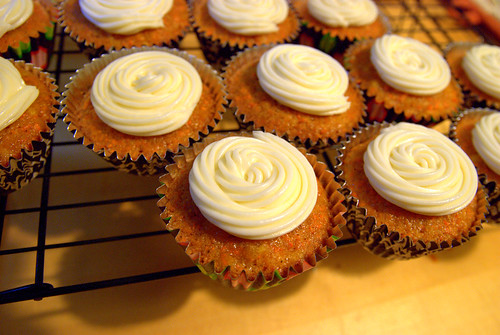
Carrot Cake Cupcakes with Cream Cheese Frosting

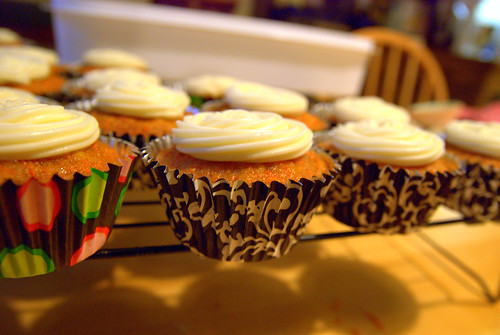
I made these for an wedding shower. They were a huge hit. The pineapple helps keep them moist and gives them a really nice texture.


Carrot Cake Cupcakes with Cream Cheese Frosting, originally uploaded by queenofthemoodswingset2.

Carrot Cake

2 cups ground carrots

1 15 oz can crushed pineapple, drained well

¾ cup vegetable oil

1 ½ cups white sugar

3 eggs

1 tsp ground cinnamon

½ tsp ground nutmeg

1 ½ cups all-purpose flour

1 ½ tsp baking soda

Dash/tsp salt

Raisins, mini chocolate chips or walnuts optional (1 cup)

Makes about 2 dozen cupcakes

IN large bowl combine carrots, pineapple oil and sugar. Add eggs, cinnamon and nutmeg. Add flour mixture and mix well. Stir in raisins and nuts if desired. Batter will look runny, as though it needs more flour. This is normal.

Pour into greased (and floured if you want to) pans. Bake for 45 minutes (closer to 15 if you're doing cupcakes), or until a toothpick inserted into the cake comes out clean. It will brown a lot so don’t worry if it looks like it’s getting too brown.

Cream Cheese Frosting from Smitten Kitchen
Adapted from several sources
Makes 6 cups
8 ounces cream cheese, room temperature
1/2 cup (1 stick) butter room temperature
3 cups confectioner’s sugar, sifted
1 teaspoon pure vanilla extract
Place cream cheese and butter in a medium bowl. With a handheld electric mixer, beat until light and fluffy, about 2 minutes. Add sugar and vanilla. Beat, on low speed to combine. If too soft, chill until slightly stiff, about 10 minutes, before using.

Sunday, September 18, 2011

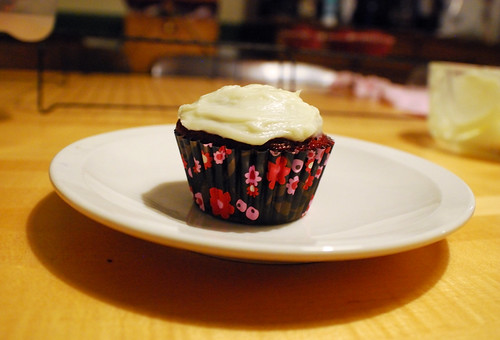
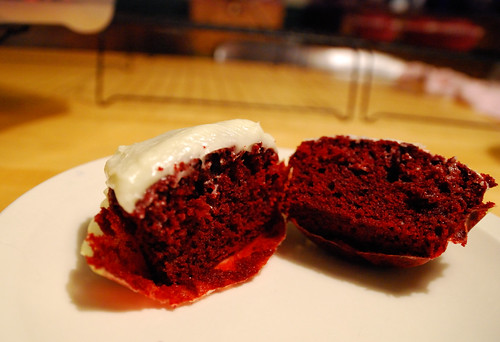
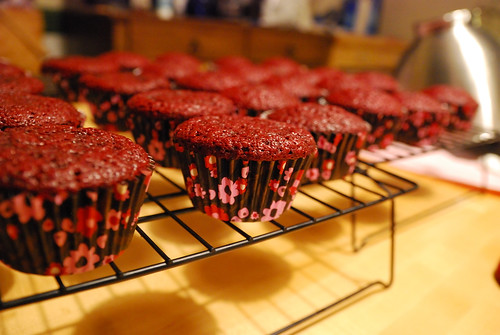
Red Velvet Cupcake with Cream Cheese Frosting

When I was little I never liked red velvet cakes. I was always disappointed that they were not chocolatey enough (or at all). John's dad wanted Red Velvet cake for his birthday, so I looked for a good recipe. I have never gone wrong with Smitten Kitchen so I tried this recipe.

It has more chocolate than most recipes so it is much better (in my opinion) than the normal recipe. Plus, it has a volcano as the last step!

smittenkitchen.com/2007/09/red-velvet-cake/
Red Velvet Cake
Adapted from “The Confetti Cakes Cookbook” by Elisa Strauss via the New York Times 2/14/07
Yield: 3 cake layers or ~35 cupcakes

1 tablespoon unsalted butter
3 1/2 cups cake flour
1/2 cup unsweetened cocoa (not Dutch process)
1 1/2 teaspoons salt
2 cups canola oil
2 1/4 cups granulated sugar
3 large eggs
6 tablespoons (3 ounces) red food coloring or 1 teaspoon red gel food coloring dissolved in 6 tablespoons of water
1 1/2 teaspoons vanilla
1 1/4 cup buttermilk
2 teaspoons baking soda
2 1/2 teaspoons white vinegar.

1. Preheat oven to 350 degrees. Place teaspoon of butter in each of 3 round 9-inch layer cake pans and place pans in oven for a few minutes until butter melts. Remove pans from oven, brush interior bottom and sides of each with butter and line bottoms with parchment.
2. Whisk cake flour, cocoa and salt in a bowl.
3. Place oil and sugar in bowl of an electric mixer and beat at medium speed until well-blended. Beat in eggs one at a time. With machine on low, very slowly add red food coloring. (Take care: it may splash.) Add vanilla. Add flour mixture alternately with buttermilk in two batches. Scrape down bowl and beat just long enough to combine.
4. Place baking soda in a small dish, stir in vinegar and add to batter with machine running. Beat for 10 seconds.
5. Divide batter among pans, place in oven and bake until a cake tester comes out clean, 40 to 45 minutes. Let cool in pans 20 minutes. Then remove from pans, flip layers over and peel off parchment. Cool completely before frosting.

Cupcake variation: Since this has been published, many readers have written in to express that it adapts well to cupcakes. The yield is approximately 35 cupcakes, with the liners filled only 3/4 of the way, and the baking time should be between 20 to 25 minutes, but check in on them 2/3 of the way through in case your oven gets the job done faster.
Cocoa Notes

Some red velvet cakes have no cocoa, others have up to half a cup. The less cocoa, the brighter the red, and the less food dye is needed to give it the desired hue. This cake has more cocoa and quite a bit of red dye, but as you cans see from the picture, it is a real stand-out red. Feel free to use less, but make sure you dissolve it in 6 tablespoons of water to compensate for any moisture lost.
Dutch versus Non-Dutched cocoa: This recipe uses baking soda, so it calls for non-Dutch-Processed cocoa. The reason is that Dutch-Process cocoa is neutral and will not react with baking soda, so it can only be used in 1) recipes with baking powder or 2) recipes with enough other acidic ingredients that will compensate for the lack of acidity. However, you’ll notice that this recipe has both vinegar and buttermilk in it, or quite a bit of acidity, leading me to wonder if either kind of cocoa could be used with success. I had non-Dutch on hand, so I used it, but if you only have Dutch and try this recipe, let us know if it works. Personally, I prefer the Dutched stuff because it usually is of a higher quality with a more delicate chocolate flavor.

Cream Cheese Frosting
Adapted from several sources
Makes 6 cups
8 ounces cream cheese, room temperature
1/2 cup (1 stick) butter room temperature
3 cups confectioner’s sugar, sifted
1 teaspoon pure vanilla extract
Place cream cheese and butter in a medium bowl. With a handheld electric mixer, beat until light and fluffy, about 2 minutes. Add sugar and vanilla. Beat, on low speed to combine. If too soft, chill until slightly stiff, about 10 minutes, before using.
Icing Notes:

Technique: Cake decorators will always tell you to ice a cake in two batches, first a “crumb layer” and then the more decorative one. Though I rarely bother, in this cake in particular, with its dark hue barely disguised by a thin layer of frosting, it is especially helpful. To do this, place a small amount of frosting on the cake and spread it over the entire surface that will be iced, thereby anchoring wayward crumbs in place so that they will not mess up the final product. A few minutes in the freezer or longer in the fridge will firm this up so that you have an ideal surface to build the real layer of frosting upon. (I did a rushed, half-assed one, hence the visible crumbs in the final product.)
Quantity: The recipe here creates an amount of frosting that allows for a thin coat between and over the cake layers. I found it to have the ideal cake-to-frosting balance for this recipe. However, you might want to double the recipe if you prefer a more decadent, padded frosting layer.
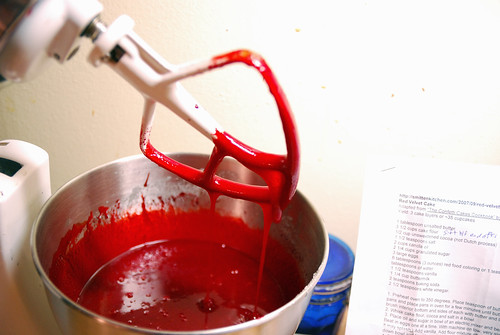


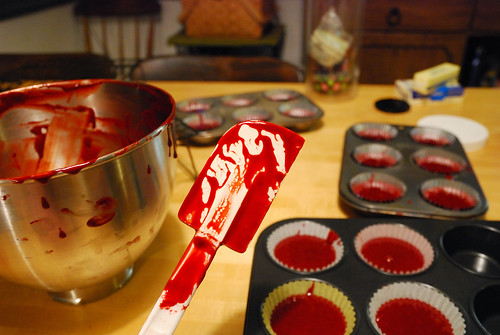
Mixing Red Velvet Cupcake, originally uploaded by queenofthemoodswingset2.
Cumberland Island Camping Trip

A few weeks after our trip to Carrabelle, we went camping on Cumberland Island. We had plans to go to Sapelo Island, but Hurricane Irene was headed towards the coast, and the island cancelled our reservations. It worked out well because Cumberland was amazing!

The hurricane went by without much drama. The storm cooled the island down and caused some serious rip-tides, so we were not able to swim the first few days.

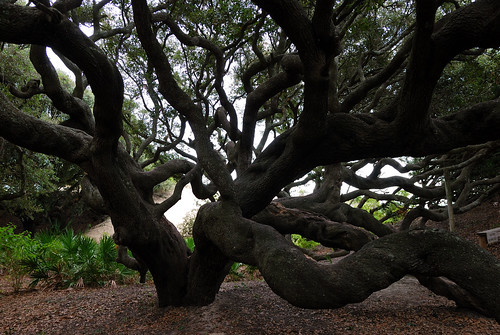
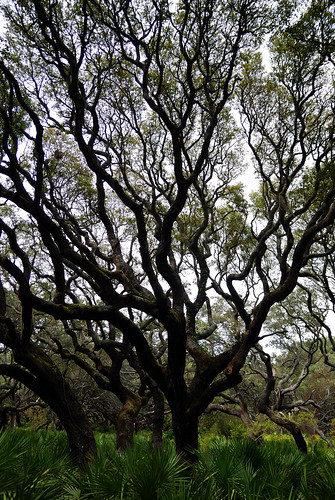
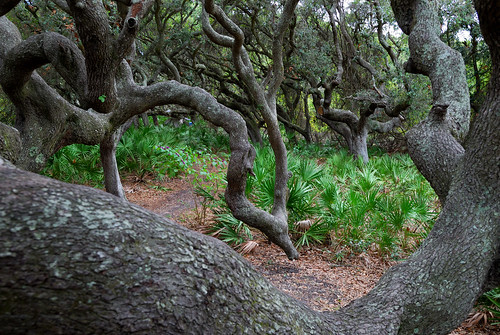
We saw such amazing things! When we first got to the island we saw a manatee rolling around next to the ferry. The live oak canopy that protected the camp site was simply beautiful. The trees are caught in a permanent breeze from the Ocean and they all lean together.

We went to the Dungeness ruins on the south part of the island and saw wild turkeys and horses. By far the most common animal was the raccoon (or crackoon).

One night we sat on the dock with the forest ranger and watched shooting stars. Then we noticed the water glistening. It was full of bio-luminescent algae! When you run your fingers through the water, the algae light up like fireflies swarming around your hands.

It was an amazing weekend, and I only took a few photos. Here they are:


Dungeness Ruins, originally uploaded by queenofthemoodswingset2.

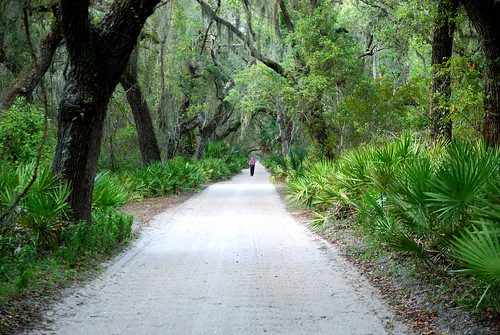
Walking back to Sea Camp from dungeness ruins, originally uploaded by queenofthemoodswingset2.
Tuesday, September 13, 2011

Tate's Hell State Forest,

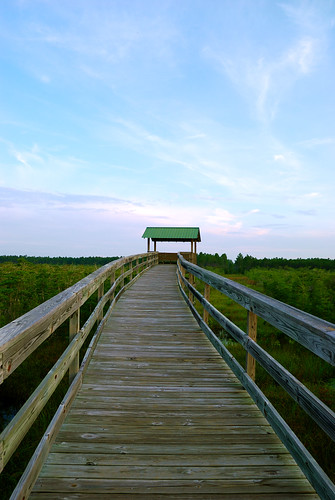
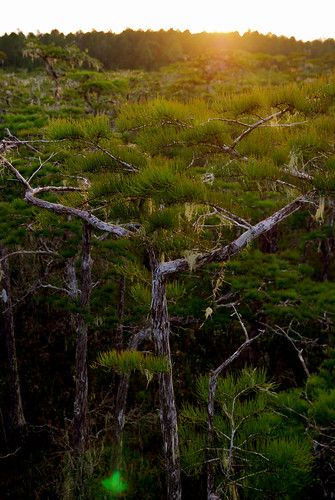
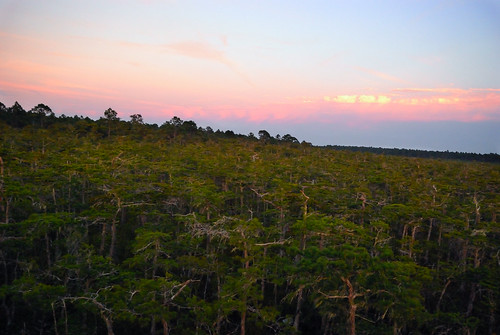
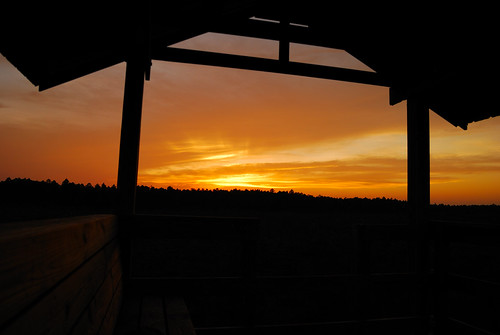
While we were staying in Carrabelle, John and I went into Tate's Hell State Forest. There's a stand of dwarf cypress trees that is simply amazing. No one is sure what dwarfed their growth, but the forest is prehistoric. We watched our second sunset from the Kendrick boardwalk and then hurried back to the car before seeing any wild cats or bears.


lilly pads in the black swamp, originally uploaded by queenofthemoodswingset2.


Sunset on Carrabelle beach

We took photos of the sunrise, got breakfast at 2Al's, and then we slept for a few hours. We decided to go to 2Al's for dinner, because they are right next to a beach access. At 2Al's a couple gave us part of their red wine and headed off towards the beach.

The sunset was just as gorgeous as the sunrise! We even got to see the full moon rise.


sunset on carrabelle beach, originally uploaded by queenofthemoodswingset2.
There were a ton of these hermit crabs all over the beach.


Sunrise and Cypress Graveyard at Carrabelle Beach

When we first get to the beach the sun had not come up yet. We got to see the colors get more and more intense as the sun rose.

Carrabelle beach has a cypress stump graveyard and we got a lot of good photos with the stumps (until the biting flies ran us off).

Then we went to 2Al's for breakfast. They had the most amazing pancakes! I don't know what they did to them, but I think they had melted butter and buttermilk rather than oil and butter. Amazing!

Sunrise at Carrabelle Beach, originally uploaded by queenofthemoodswingset2.


Cypress Graveyard at Carrabelle Beach, originally uploaded by queenofthemoodswingset2.

Carrabelle Beach

I took so many photos during this trip that I will make a few installments. John and I drove to Carrabelle Beach (on the panhandle) and arrived near sunrise. We drove down to the beach and caught the sunrise over the water.

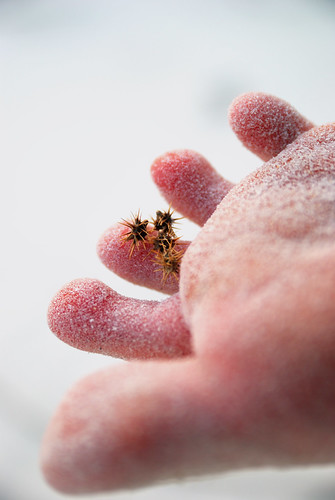
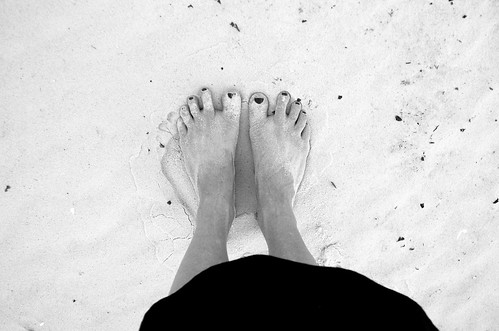
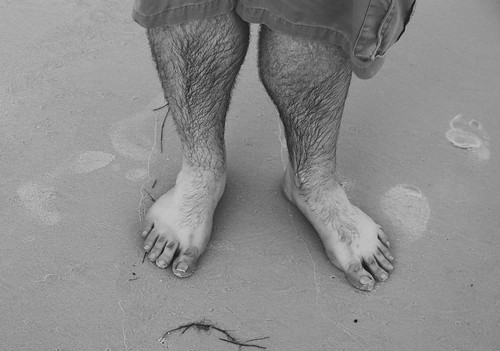
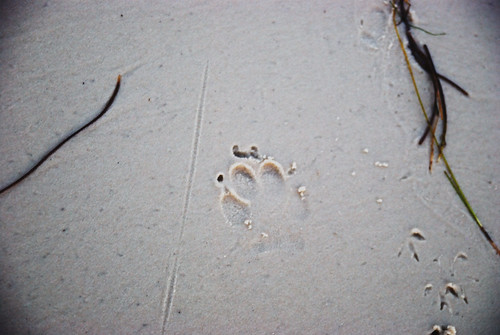
A lot of the photos involved feet/footprints/and hands so I figured I'd gather those all in the first post.


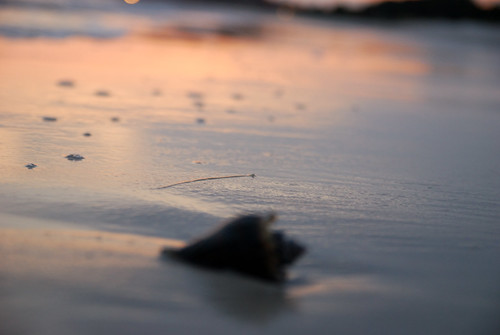
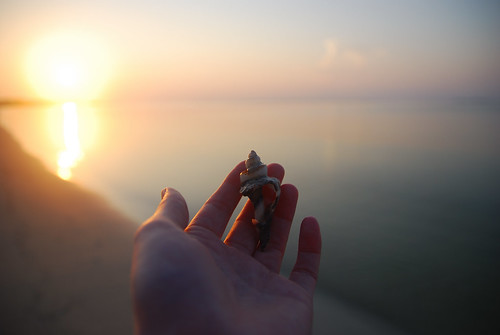
Sunrise and shell at carrabelle beach, originally uploaded by queenofthemoodswingset2.
This is one of the hermit crab shells with the sunrise in the background.


sand spur in toes, originally uploaded by queenofthemoodswingset2.
I walked on the dunes to take a photo of a beach ball and was not paying enough attention (apparently) to the sand spurs. These actually made me bleed!


my sandy toes, originally uploaded by queenofthemoodswingset2.
hobbit feet, originally uploaded by queenofthemoodswingset2.


There are more to come!

Monday, August 1, 2011

Ugly Lemon Cupcakes

I got my cupcake genius pans in the mail and was really excited to try them out. I'm kind of tired of car bomb cupcakes so I thought I'd use a lemon cake recipe that I really like.

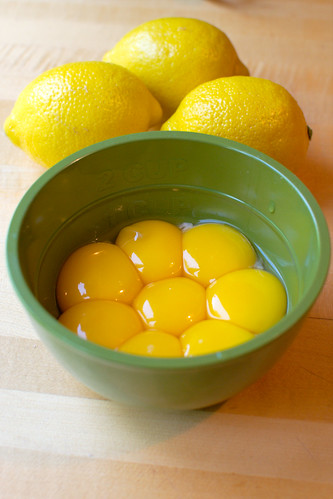
So, I got all my ingredients together, took a photo of my egg yolk flower and got to work.


Egg Yolks and lemons for lemon curd, originally uploaded by queenofthemoodswingset2.
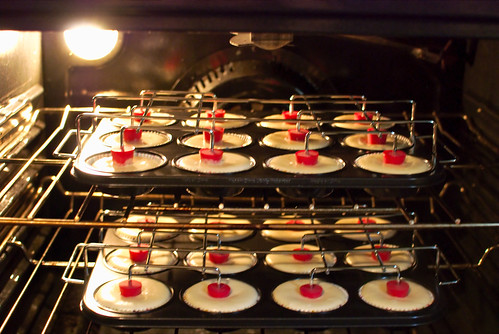
Unfortunately I forgot to account for the volume taken up by the silicone caps that keep the cupcakes hollow and my cupcakes overflowed.

Lemon Cupcakes with Cupcake Genius pan, originally uploaded by queenofthemoodswingset2.
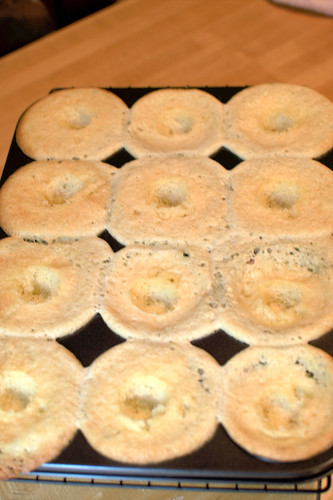
Hence, the ugly cupcakes. That's OK, this is why I'm doing a trial run.

Ugly Lemon Cupcakes, originally uploaded by queenofthemoodswingset2.

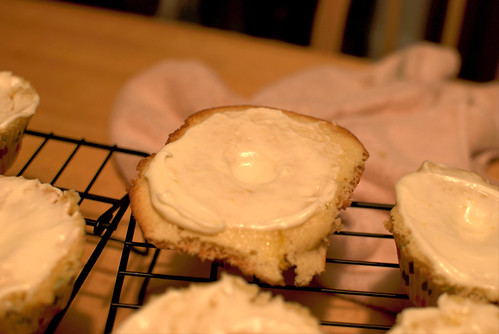
I filled them with the lemon curd, and remembered that lemon curd just soaks into the cupcake. Leaving it hollow after a few minutes. Once again, this is why I do trial runs.


Ugly Lemon Cupcakes, originally uploaded by queenofthemoodswingset2.
See the little belly button?


Ugly Lemon Cupcakes, originally uploaded by queenofthemoodswingset2.
(no belly button)

I did make about 1/2 dozen in a regular pan so I just poked holes in the top with tooth picks and let the curd soak in before I frosted the. In the future, this will be the method I use. No fancy pan required!


Lemon Layer Cake
adapted from : smittenkitchen.com/2007/09/layered-lemon-love/

1-2-3-4 Cake
This cake gets its name from its proportion of ingredients: 1 cup butter and milk, 2 cups sugar, 3 cups of flour and 4 eggs, and from cupcakes to layers cakes, as a basic, white cake, it does not fail. Yield: 3 9-inch layers (for the purpose of this cake) or 24 cupcakes (good to know, eh?)

1 cup (2 sticks) butter, at room temperature
2 cups sugar
4 eggs (at room temperature)
3 cups sifted self-rising flour (sift before AND after measuring. Use a spoon to scoop flour into measuring cup)
1 cup milk (at room temperature)
1 teaspoon pure vanilla extract
Preheat oven to 325°F (original recipe was 350). Using an electric mixer, cream butter until fluffy. Add sugar and continue to cream well for 6 to 8 minutes. Add eggs 1 at a time, beating well after each addition. Add flour and milk alternately to creamed mixture, beginning and ending with flour. Add vanilla and continue to beat until just mixed. Divide batter equally among prepared pans. Level batter in each pan by holding pan 3 or 4-inches above counter, then dropping flat onto counter. Do this several times to release air bubbles and assure you of a more level cake. Bake for 25 to 30 minutes or until a tester or toothpick inserted into the center comes out clean (start checking at 15 minutes if you are making cupcakes).

Lemon Curd
Adapted from The Joy of Cooking
From the Joy of Cooking: This makes a sensation filling for sponge rolls or an Angel Food Cake. You can also marble it into a cheesecake.
8 egg yolks
1 1/2 cups sugar
1/4 cup (1/2 stick) butter
3 lemons, zest grated and juiced
Place the ingredients in the double boiler over boiling water. Don’t let top pan touch the water. Cook and stir until mixture begins to gel or thicken ever-so-slightly. Remove from heat and allow to cool. Cover and refrigerate it to thicken. This keeps, refrigerated, for about 1 week.

Cream Cheese Lemon Frosting (from Better Homes and Gardens Cookbook)
6 oz cream cheese (softened)
1 tsp lemon juice
1/2 cup butter softened
4 1/2-3/4 cups sifted powdered sugar
1 tsp lemon zest

Beat cream cheese, lemon juice, and butter until light and fluffy, gradually add 2 cups sifted powdered sugar. Add remaining between 2 1/2 and 2 3/4 cups of powdered sugar and beat until spreading consistency. Add lemon zest and mix.


Lemon Layer Cake Assembly: Add 1 tablespoon of filling to the cake pedestal. Run hands along the side of the cake to remove excess crumbs. Place the cake layers on the pedestal, spreading filling between the layers and on top. Spread the top of the cake with the remaining filling. Frost top and sides of cake with frosting.

Optional, but delicious: press sweetened coconut flakes into the frosting.

Saturday, July 30, 2011

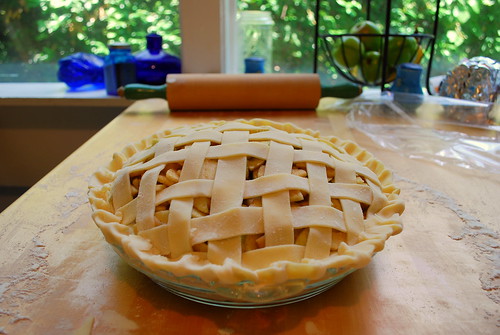
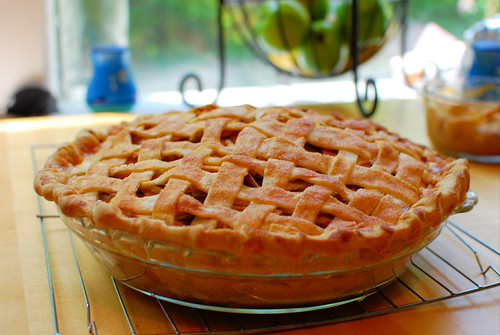
Lattice Top Apple Pie

Lattice Top Apple Pie

Filling
1/2 c sugar (for granny smith apples)
2T flour
½ tsp cinnamon
1/8 tsp nutmeg
pinch of cloves
3-4 lb apples (8-10 medium apples) peeled, cored and chopped. As many as you can fit in the pan.

tbsp milk
cinnamon sugar

Use two pre-packaged pie crusts, rolling them thin. Put one on the bottom of a deep pie crust leaving an inch or two around the edge. Fill with the apple filling. Roll out the other pie crust and cut into strips. Alternate strips across the top of the pie, weaving them together. Fold the extra dough over the edges of the lattice and pinch. Brush the top of the pie with some milk and then shake cinnamon sugar over the top of the pie.

bake at 375 for 45-60 min